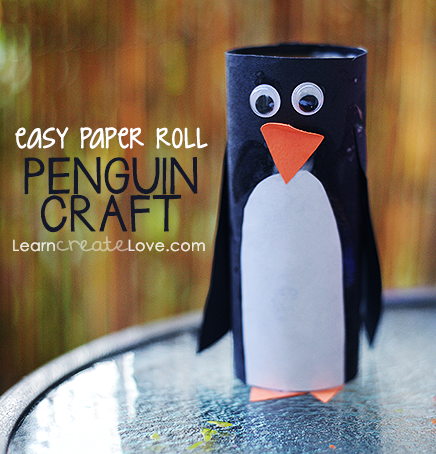
A cold front came through this morning, leaving us thin-blooded Texans shivering in our cowgirl boots. Okay, leaving LORE shivering in her cowgirl boots. =) Minus the shivering… it’s not actually that cold. Haha! She asked to do a penguin craft today after we put up our new privacy fence on the patio. My mind immediately went to this paper roll owl craft we did a couple years ago and I knew that’s the direction we were going to go in.
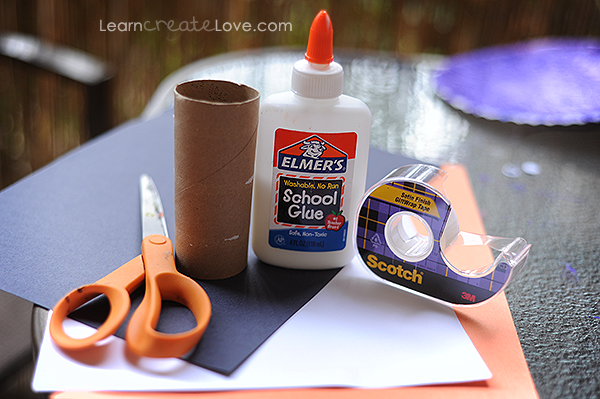
Materials Needed:
- Paper Roll, cleaned
- Construction Paper: Black, White, & Orange
- Scissors
- Something to mark with (not shown)
- Glue
- Tape, optional. We ended up not having to use it.
- Googly Eyes, not shown
Directions:
- Roll the paper roll around the black paper and mark the edges. Cut the rectangle from the construction paper.
- Add glue to the cut-out black rectangle, and then wrap it around the paper roll. You can add a piece of tape for extra support.
- Using the leftover black construction paper, cut out two long ovals for the wings.
- With the seam at the BACK of the paper roll, glue down the wings on the sides.
- Cut out the white belly for the penguin and glue it down front and center, between the wings.
- Glue down the eyes.
- Cut out a diamond shape for the beak out of the orange construction paper. Glue down the bottom half. The top half should be able to flap.
- Last, cut out two triangles for the feet, then glue them down!
You’re done! TIP: Want to have your child more involved? Paint the paper roll instead of using construction paper. Have him or her cut out the shapes and glue everything! I hope you get a chance to make this one with your child(ren). It’s turned out to be a really cute winter craft!
Other Fun Penguin Crafts from LCL: Handprint Penguin Craft | Printable Penguin Craft | Macaroni Penguin Printable Craft