
What We Used:
– Toilet Paper Rolls, cleaned of all paper (paper towel rolls work, too!)
– Scissors
– Decorative Elements: paint, glitter, glitter glue, gems, sequins, wooden beads, feathers, Tissue Paper, etc.
Note: The paintbrushes, glitter, paint, and wooden beads we used for this craft were provided to us by our friends at CraftProjectIdeas!
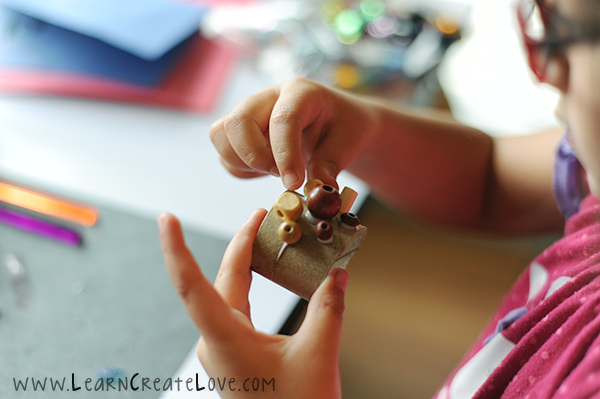
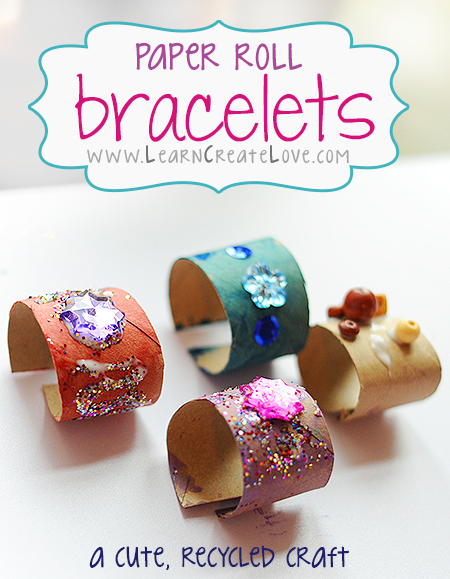
Directions: To make the bracelet, cut your toilet paper roll into sections, then cut through each “circle” to make it a cuff bracelet. (See the example in the pictures below.) The rest is self-explanatory… just decorate!

TIP: I had an extra paper towel roll sitting nearby. When she was finished decorating one, I cuffed the decorated bracelet over it to dry. The paper towel holder held it in place so that it wouldn’t tip over. If you have beads or heavy gems on the bracelet, it will likely tip, so make sure you cuff it around something while it dries!
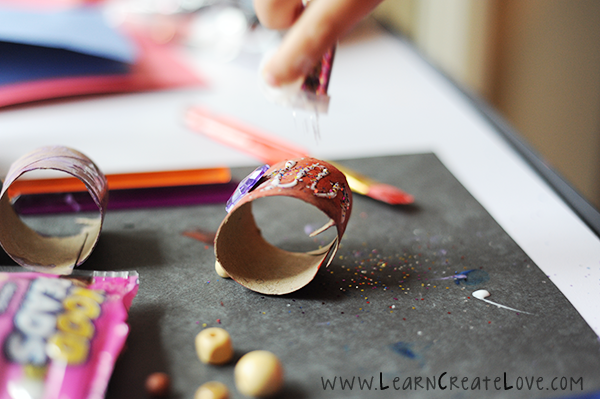
The great thing about this craft is that you can do sooo many things with it! Lorelai did super glittery and gem-filled bracelets, and also natural-looking bracelets with wooden beads. Both types are equally cute!

I hope you get a chance to make some Paper Roll Bracelets with your child. We really enjoyed it and I’m sure you would, too!
Printable Instructions | Terms of Use | Facebook Page | Pinterest